


Happy Birthday Cake in 5 simple steps...
- Nov 13, 2014
- 1 min read
...and this is how it could look, it's really just a bit of prep and about 20 min of your time.
1. Choose the berries and decoration you'd like to use
TIP: use a nice background that goes well with the colours, slate creates a nice contrast. For a rustic look use a wooden board.

2. Get your base and cut the shape you'd like to get. I used a 5 for an anniversary of the lovely blog One Fab Day.
TIP: Draw a sketch first to see what space you need and if the base is the right size.

TIP: You might have left over base... Why not cut it into dices and freeze it? It's always good to keep some for unannounced visitors. Once defrosted you could coat them with chocolate sauce or creme and make little mini cakes.

3. Use the first model as a stencile form so you get exact same sizes for the 2nd layer.

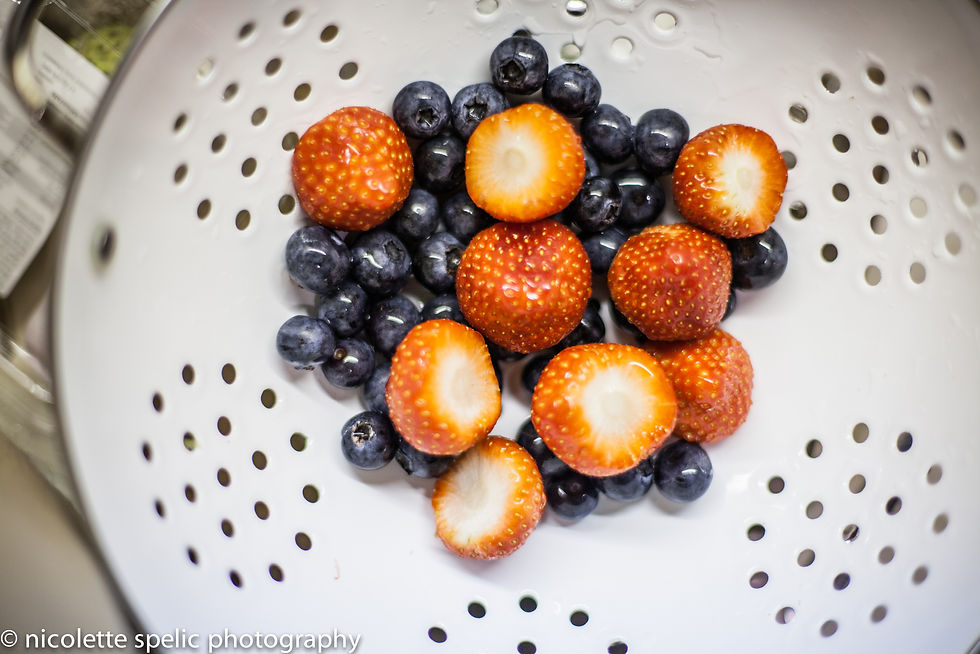
4. Wash and cut those berries you are using.

5. Set your cake up in layers and fill with cream and cover with icing.
TIP: Use 2 - 3 icing layers, make sure you let dry after each layer. It looks much better and covers crums.


Comments